

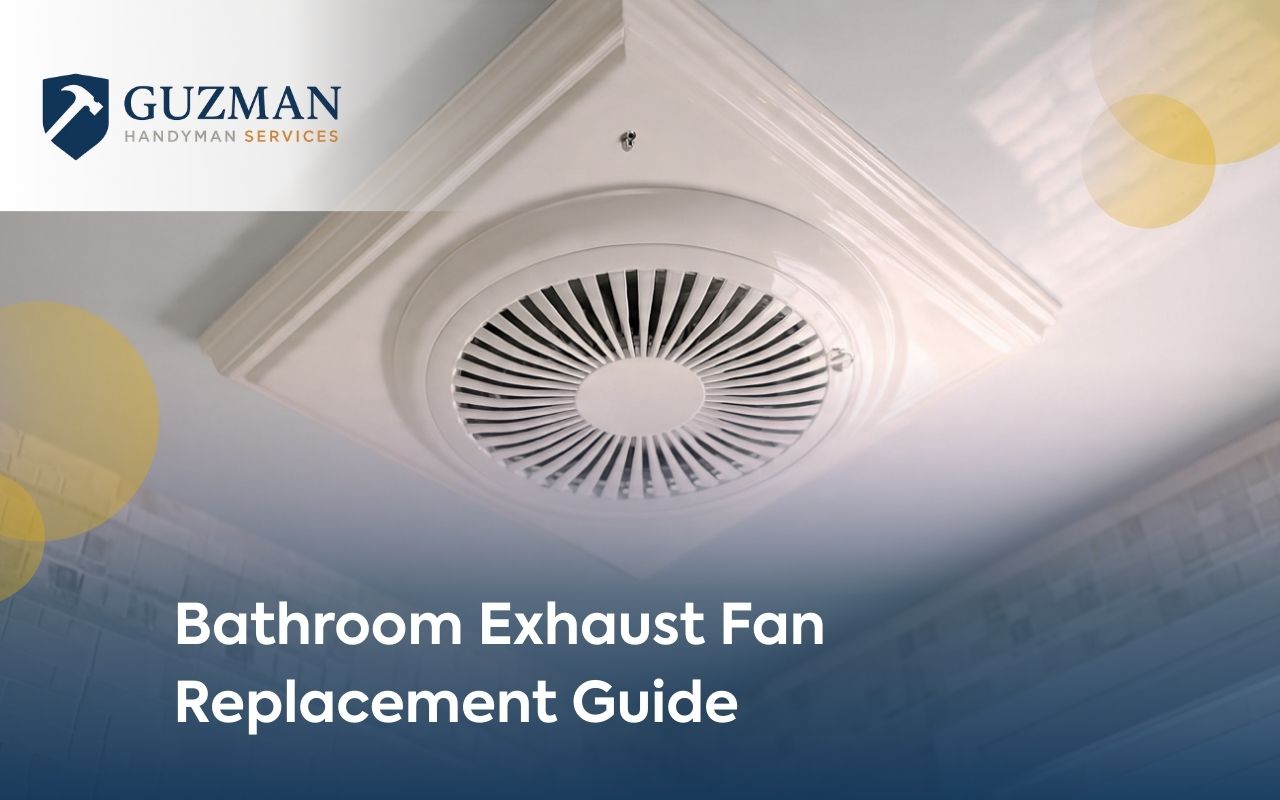
Bathroom Exhaust Fan Replacement Guide
Bathroom exhaust fan replacement can feel simple at first. However, it often brings surprising questions and small setbacks. Are you dealing with a bathroom fan not working and wondering what to do next? If so, you are not alone. Guzman Handyman Services often helps homeowners who want a clear plan and fewer headaches.
Maybe you are asking, what size bathroom exhaust fan do I need, or you want bathroom fan installation in Kingwood, TX done right. Either way, this guide covers practical steps, safer checks, and helpful tips. By the end, you can move forward with more confidence and less stress.
Common Signs Your Bathroom Exhaust Fan Needs Replacement
First, watch for moisture that lingers on mirrors and walls. Also, notice weak airflow or a soft breeze when the fan runs. In addition, grinding, rattling, or squeaking sounds often point to worn parts. Sometimes, the grille feels warm, which can signal overheating and a tired motor.
Moreover, mold or mildew that returns fast may mean the fan cannot clear humidity. Likewise, flickering lights on combo units or breakers that trip can hint at electrical trouble. If bathroom fan not working troubleshooting has not fixed it, then Guzman Handyman Services may recommend a full replacement.
Foggy mirrors that last too long
Weak airflow or poor ventilation
Unusual noises like rattling or squeaking
Warm grille or frequent breaker trips
More mold despite regular cleaning
Why Good Bathroom Airflow Matters
Without steady airflow, shower steam settles on ceilings, walls, and fixtures. Over time, that moisture can peel paint, soften drywall, and warp wood. Therefore, a working fan helps move damp air outside and protects the room’s surfaces. Guzman Handyman Services often sees damage that starts small but grows quickly.
Also, better ventilation helps reduce mold and mildew. Since spores can bother allergies and breathing, this matters for comfort and health. As a result, bathroom exhaust fan replacement can lower long-term upkeep and keep your space fresher.
What Size Fan Should You Choose?
Choosing the right airflow is key for comfort and moisture control. The common rating is CFM, which means how much air the fan moves. To answer what size bathroom exhaust fan do I need, measure the bathroom floor area. Then multiply length by width to get square feet. After that, match one CFM per square foot as a simple baseline.
However, extra humidity needs extra power. So, if you have high ceilings, a large tub, or frequent long showers, go bigger. Also, consider sound levels, since quieter fans make daily use easier. If you want help selecting a good fit, explore options on Guzman Handyman Services.
Measure the room and calculate square footage
Start with one CFM per square foot
Increase CFM for high ceilings or heavy humidity
Look for a low sone rating for quieter use
Fan Types You Can Pick From
Ceiling-mounted fans are common and work well with attic access. Meanwhile, wall-mounted fans help when attic space is hard to reach. For some homes, an inline fan sits farther away and pushes air through ductwork. As a result, it can reduce noise near the bathroom.
Also, combo models add lights, heaters, or speakers. However, they can need more wiring and time. Since each home is different, Guzman Handyman Services can suggest a fan style that fits your layout and comfort goals.
Tools and Materials You Will Need
Before you start, gather tools so you do not pause mid-job. For safety, turn off power and confirm it with a voltage tester. Then keep your ladder steady and wear basic protection. Although this project is manageable, planning helps avoid mistakes.
Screwdrivers, drill, and driver bits
Wire strippers, pliers, and voltage tester
Wire connectors, electrical tape, and a cable clamp
New fan kit that matches your CFM needs
Foil tape or duct clamps for a tight seal
How to Remove the Old Fan
First, shut off the circuit at the breaker. Next, test the switch to confirm power is off. Then remove the grille by pulling it down and releasing the spring clips. After that, loosen the fasteners holding the housing to the framing. Finally, lower the unit slowly, since wiring and ductwork may still be attached.
Moreover, detach the duct by removing the clamp or foil tape. Then cap the duct for a moment to keep debris out. After that, disconnect the wiring by removing the wire connectors. If you want a smoother swap, Guzman Handyman Services can handle the removal and cleanup.
Installing the New Fan
Set the new housing so it sits flush with the ceiling surface. Then secure it to the framing using the provided fasteners. Next, attach the duct to the exhaust collar and seal it well to prevent leaks. After that, connect wiring correctly: black to hot, white to neutral, and green or bare to ground.
Finally, tuck connections into the junction box and install the grille. Then restore power and test operation. If you want a local pro to help, use the contact page to schedule service with Guzman Handyman Services.
Testing and Basic Fixes After Installation
After the install, turn the fan on and listen for smooth, steady sound. Also, hold a tissue near the grille to check suction. If you hear rattling, tighten mounting points. If airflow feels weak, check the duct for bends or blockages. In addition, confirm wire connections are snug.
If the fan still fails to run, return to bathroom fan not working troubleshooting steps. Check the breaker, confirm the switch works, and verify wiring connections. When needed, Guzman Handyman Services can diagnose tricky issues and finish repairs safely.
Bathroom Fan Installation in Kingwood, TX: Local Notes
Kingwood’s humid weather can make moisture removal more important. Therefore, many homeowners choose a slightly stronger fan than the minimum. Also, make sure the duct ends at an outdoor vent with a backdraft damper. That way, outside air and pests are less likely to enter.
Additionally, sealed duct joints help prevent warm attic air from drifting back toward the ceiling. If you want guidance that fits local conditions, bathroom fan installation in Kingwood, TX is a common request at Guzman Handyman Services. You can also check service coverage on more locations.
Frequently Asked Questions
How do I know if my fan is too weak for my bathroom?
If mirrors stay foggy and moisture lingers, the airflow may be too low for the space.
Can I replace a fan without changing the housing?
Sometimes, yes. However, many upgrades fit best when the housing matches the new unit.
What causes a bathroom fan to stop working suddenly?
Often it is a failed motor, a loose wire, or a bad switch. Also, a tripped breaker is common.
Do I need to vent the fan outside?
Yes, in most cases. Venting into an attic can lead to moisture problems and mold.
When should I call a professional instead of doing it myself?
If wiring is unclear, ducting is hard to reach, or noise persists, Guzman Handyman Services can help.
Enjoying a Better, Drier Bathroom
Bathroom exhaust fan replacement can improve air comfort fast. As a result, you may see fewer odors, less mold risk, and less damage from moisture. Also, newer fans often run quieter and move air better. With regular cleaning and occasional duct checks, your new fan can stay effective for years.
If you want a smoother upgrade, Guzman Handyman Services can guide your choices and handle the install. For next steps, reach out through the Guzman Handyman Services contact form.