

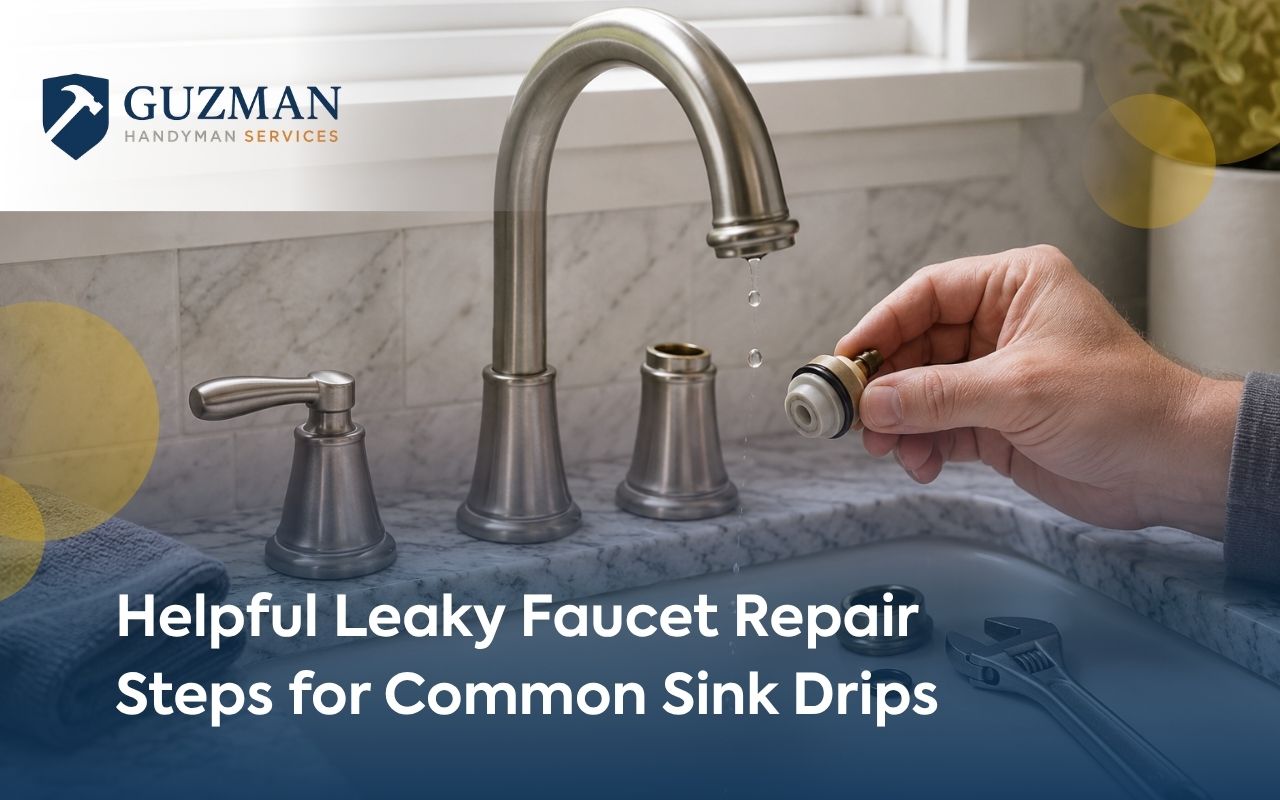
Helpful Leaky Faucet Repair Steps for Common Sink Drips
Leaky faucet repair steps can help you stop noise, waste, and stress before the problem grows. A steady drip may look small, yet it can raise water use and make your sink area feel less comfortable.
At Guzman Handyman Services, we guide homeowners with clear, simple repair support when a faucet starts acting up. With the right parts and safe steps, many common leaks can be checked with confidence.
Know Your Faucet Type Before Taking It Apart
Before you begin leaky faucet repair steps, look closely at the faucet style. Most homes have compression, ball, cartridge, or ceramic disk faucets. Each type uses different parts, so knowing the design helps you avoid wrong replacements.
First, turn off the water and remove the handle cap with care. Then check for a washer, ball part, cartridge, or disk. For wider home repair support, you can review our home repair services.
Gather Safe Tools And Keep Small Parts Organized
Good tools make the job cleaner and safer. Before you open the faucet, place a towel in the sink and keep a small bowl nearby. This helps stop tiny screws or washers from falling into the drain.
Adjustable wrench or basin wrench
Flathead and Phillips screwdrivers
New washers, O-rings, or cartridge parts
Plumber’s grease and clean rags
Small brush for light buildup
Turn Off Water Before Starting The Repair Work
Safety comes first with any sink repair. Find the hot and cold shut-off valves under the sink, then turn them clockwise until they stop. After that, open the faucet to drain the water left inside the lines.
Place towels under the sink before loosening any part. This simple step keeps the area dry and helps you see the leak source better. When customers contact Guzman Handyman Services, we explain safe next steps before work begins.
Common Faucet Drip Causes You Can Check First
Many faucet drip causes come from small worn parts. A washer may flatten, an O-ring may crack, or a seal may no longer fit well. Sometimes mineral buildup also keeps parts from closing tightly.
A worn washer inside a compression faucet
Cracked O-rings near the handle or spout
Loose packing nut around the stem
Mineral buildup around moving parts
A damaged cartridge inside the faucet body
Replace Faucet Cartridge Parts Without Extra Stress Today
Some faucets drip because the inside cartridge is worn. To replace faucet cartridge parts, remove the handle, bonnet nut, and retaining clip. Pull the old cartridge straight out, then match it with the same size replacement.
Use a light coat of plumber’s grease on the new cartridge rings. Then slide the part back in, secure the clip, and rebuild the handle. This is one of the most useful leaky faucet repair steps for cartridge-style faucets.
Rebuild The Faucet Carefully And Test For Leaks
After replacing washers, seals, or cartridge parts, place each piece back in the same order. Tighten screws and nuts firmly, but do not force them. Too much pressure can crack parts or damage threads.
Turn the water back on slowly and watch the handle, base, and spout. Run hot and cold water for a few minutes. If the area stays dry, your leaky faucet repair steps worked well.
Frequently Asked Questions
Why does my faucet keep dripping after repair?
A drip may continue when a washer, seal, or cartridge is the wrong size. It can also happen when buildup keeps parts from closing fully.
Can I fix a faucet leak by myself?
Many simple leaks can be fixed with basic tools and patience. However, deeper damage may need help from a trained repair team.
How do I know which faucet part failed?
Look at where the water appears. A spout drip often points to an inside washer or cartridge, while base leaks often point to O-rings.
When should I call for help?
Call for help when water will not shut off, parts are stuck, or the leak returns after repair. Our contact page makes it easy to reach us.
Do small faucet leaks really matter?
Yes, small leaks can waste water and lead to stains or damage near the sink. Fixing them early keeps the area safer and cleaner.
When Our Local Team Should Handle The Repair
Some leaks need more than a quick part swap. If valves are stuck, pipes look weak, or the faucet keeps dripping, our team can help with basic plumbing services in Porter, TX and nearby areas.
Water keeps dripping after new parts are installed
Shut-off valves are frozen or damaged
Rust or water stains appear under the sink
The faucet is loose, cracked, or very old
With Guzman Handyman Services, you get clear guidance and steady workmanship for small home repairs. You can also visit our service area page to see nearby locations we support.